
Case study
Stone veneer install plus a fresh coat above
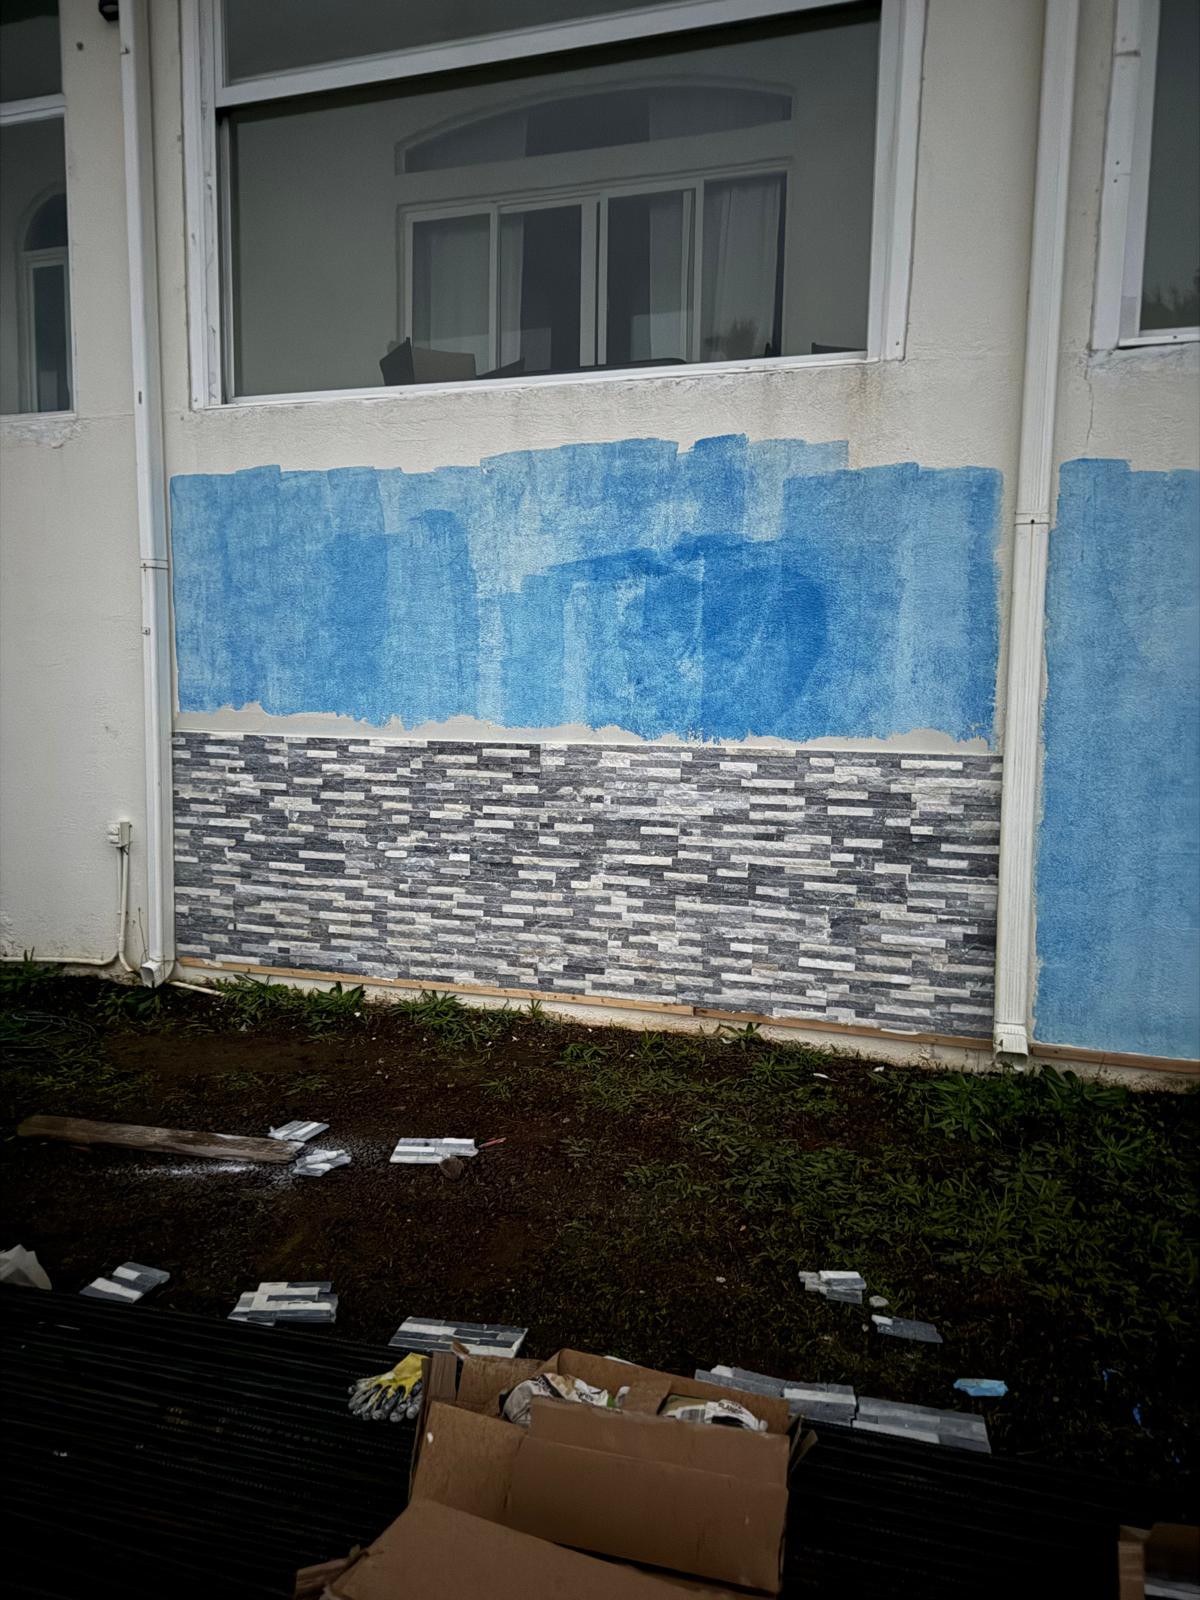
Installed stacked stone veneer along the base of an exterior wall, then finished the wall above with fresh paint for a two-tone facade.
- Location
- Denver
- Crew
- 2 techs
- Completed
- March 2026
Project scope
What we did
The job
The base of this exterior wall took every splash from the walkway and looked flat against the rest of the facade. We added a stacked stone veneer wainscot to give the wall a durable, textured base, then repainted the field above once the mortar had cured so the two-tone transition landed on a clean line.
Our recommendation
A mortared stone veneer wainscot set off a level starter board, with a deliberate cure window before the wall above was repainted.
The result
A level, tight-jointed stone wainscot with a clean transition line to the painted wall above.
Project gallery
Photos from this project
Real job-site photos — tap any image to view it full size.
Why homeowners choose us
Why choose Denver Handy Co.
Skilled & experienced
Years of hands-on experience in remodeling and home improvement.
Quality work guaranteed
We stand behind our work and pay attention to the detail.
On time & on budget
We respect your time and your budget at every step.
Local & trusted
Proudly serving Denver-area homeowners.
Clear communication
Honest updates, responsive service, and no surprises.
What homeowners say
Reviews for stacked stone veneer wainscot
We're collecting verified reviews for stacked stone veneer wainscot. In the meantime, here's what every job comes with — and why homeowners keep calling us back.
Every job is backed in writing. If our work fails, we come back and make it right.
Two professionals who show up together, on time, and finish what they started.
Tell us how it went — it takes a minute and helps neighbors choose with confidence.
Leave a review →Free estimates · Most projects scheduled within the week.
Keep exploring
Need the same work at your place?
This project pulled from the services below. Each one can be booked on its own or bundled into a single visit.
Installations & Home Upgrades
TVs, ceiling fans, light fixtures, mirrors, shelves, blinds, curtain rods, bathroom accessories, smart-home devices.
Installations & Home Upgrades in Denver MetroDenver handyman services
See everything Denver Handy Co. handles in Denver and the surrounding Denver Metro neighborhoods.
Handyman in DenverMore work
Full Interior Home Renovation
A complete interior renovation in Denver, including new hardwood flooring, interior doors and trim, kitchen updates, lighting and detailed finish work — completed by one crew.
View case studyMore work
Lighting, Switch & Smoke Detector Refresh
A whole-home fixture refresh: circuits mapped and shut off at the panel, dated rocker switches swapped out, ceiling boxes rewired for new lights and a fan, and every smoke detector replaced.
View case studyMore work
Artwork & Decor Wall Mounting
Hung a three-panel canvas on a high stairwell wall and a vintage sled on heavy texture, laid out with a cross-line laser and anchored for the wall type.
View case studyReady to start?
Let's plan your project
Tell us what you're working on. We'll help you understand the scope, next steps and what it will take to get the job done.